


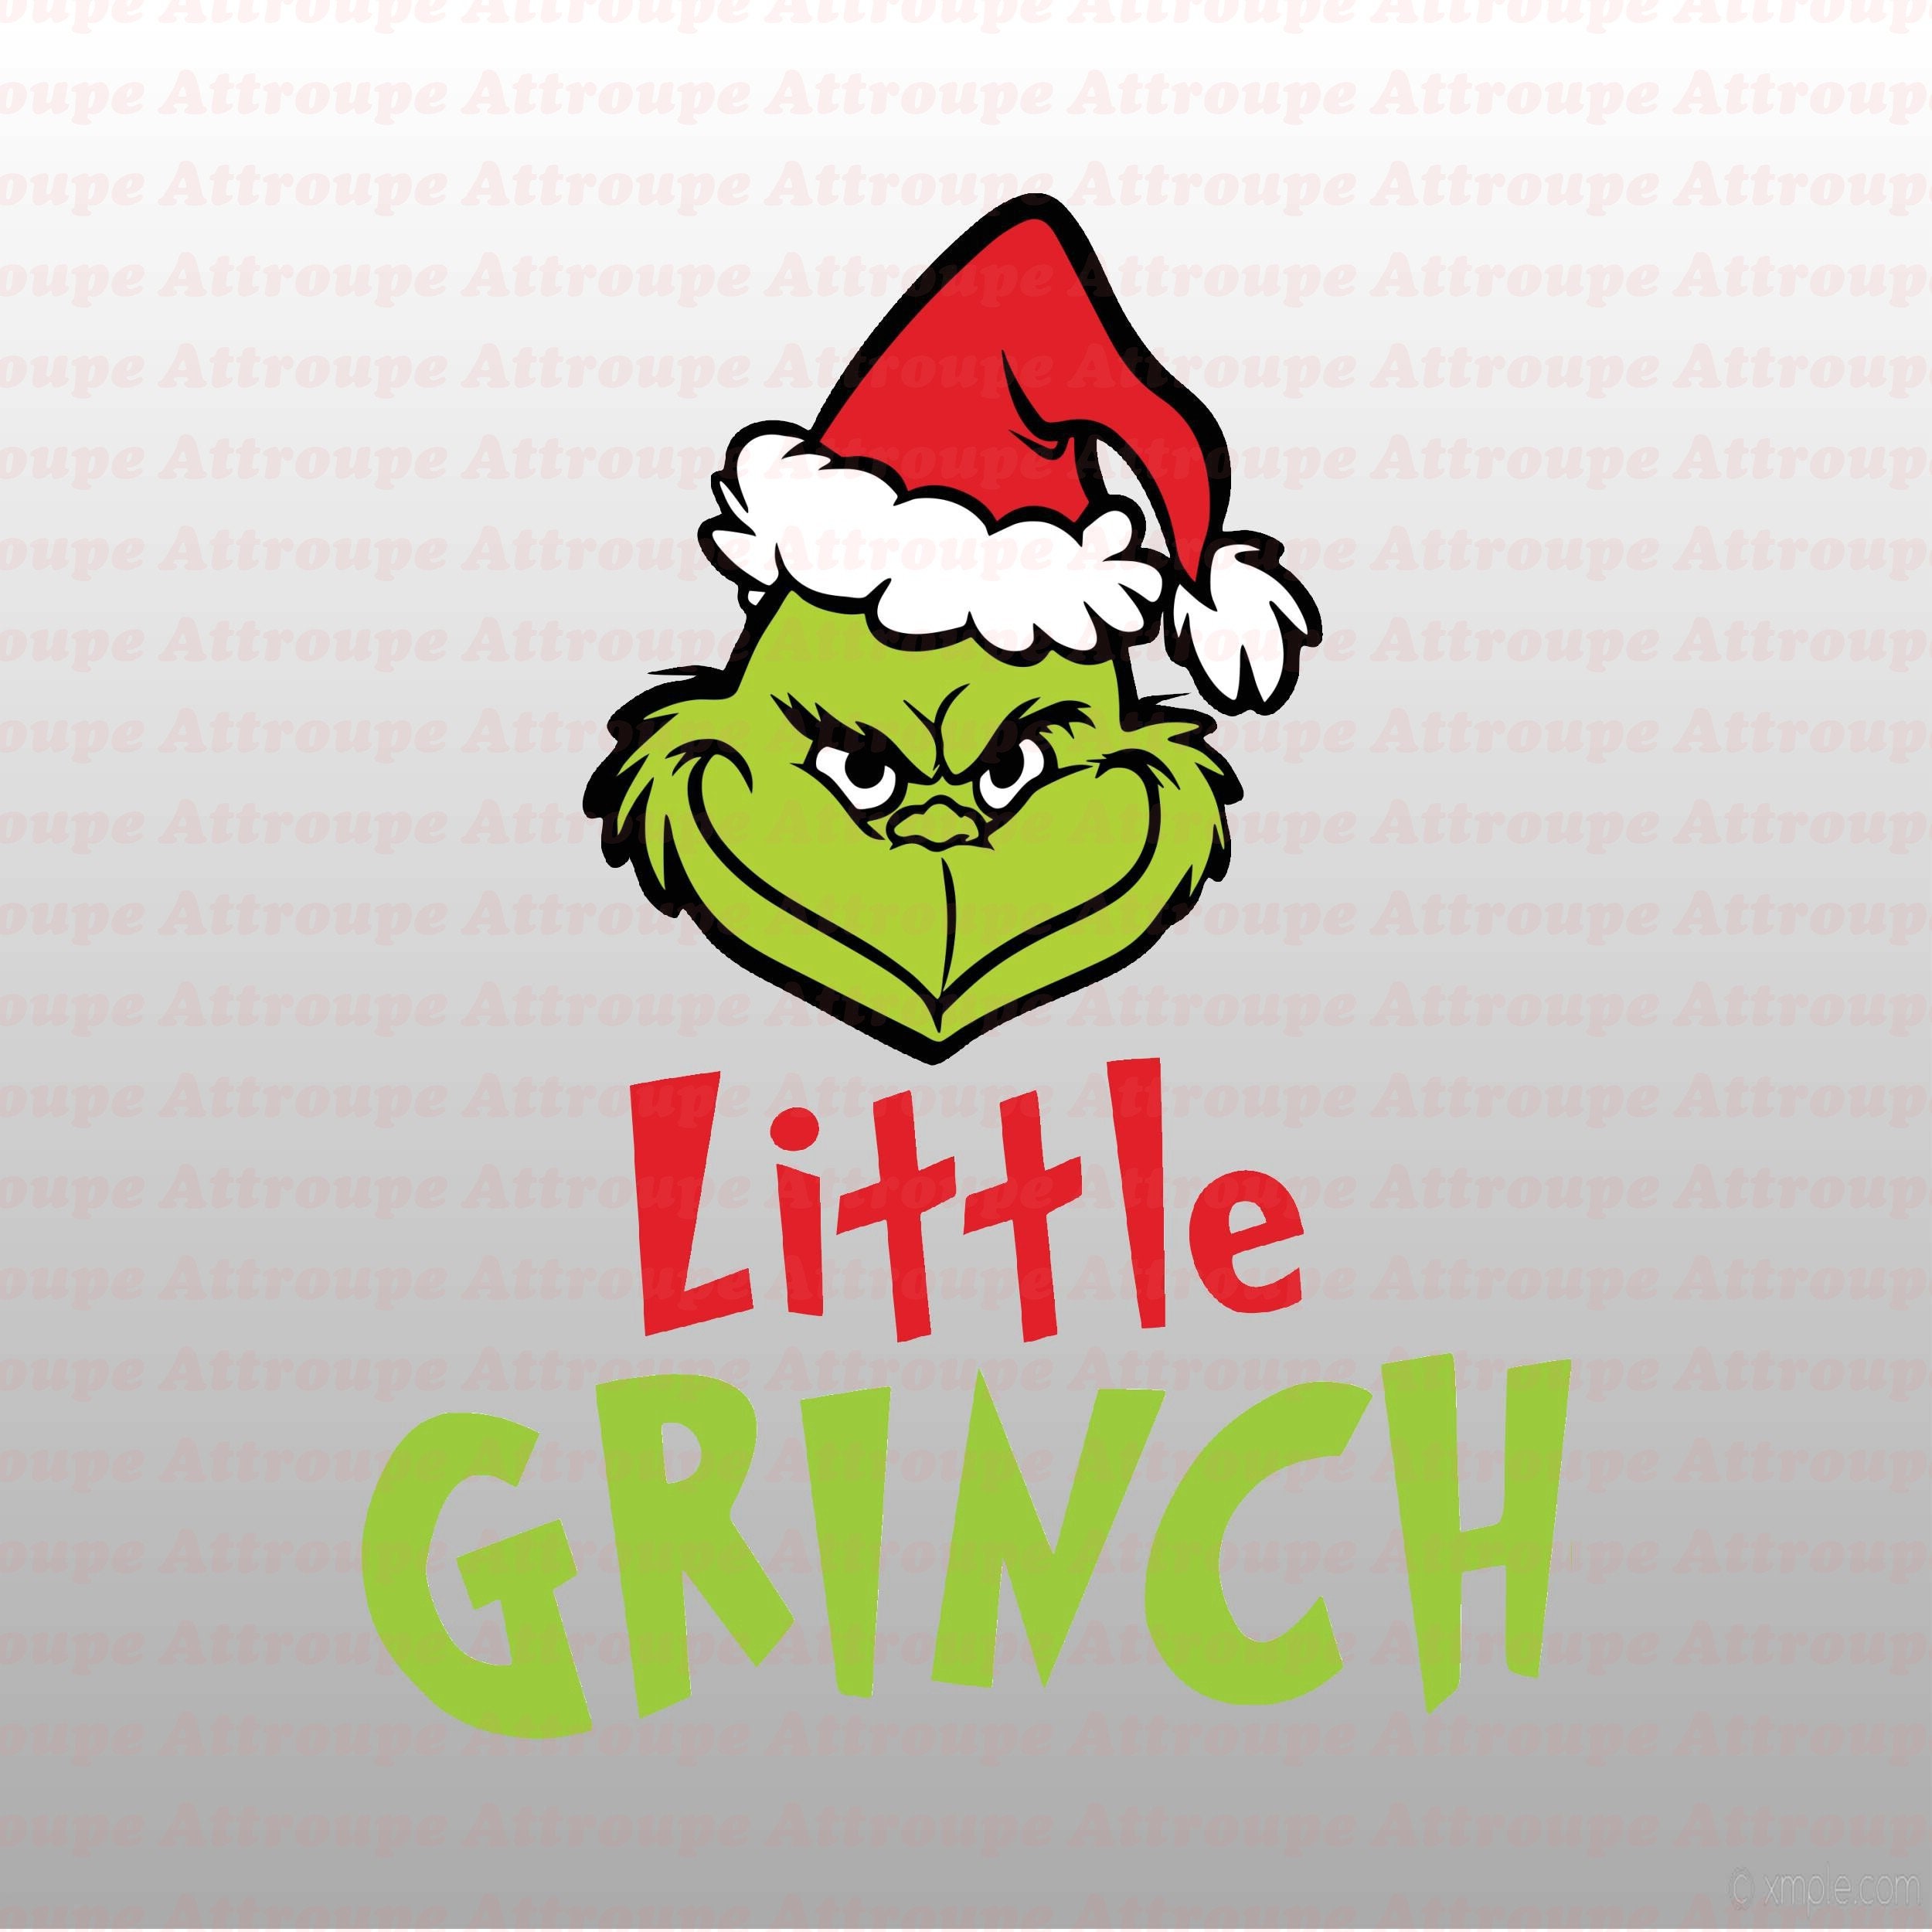
As the festive season approaches, let the Grinch bring a touch of mischievous cheer to your holiday decorations with a custom Cricut cut out. With its iconic silhouette and mischievous expression, this DIY project is a perfect way to add a playful touch to your home or gift giving. Whether you’re a seasoned Cricut enthusiast or a crafting novice, this guide will provide you with everything you need to know to create your own Grinch Cricut cut out.
Materials You’ll Need:


As the festive season approaches, let the Grinch bring a touch of mischievous cheer to your holiday decorations with a custom Cricut cut out. With its iconic silhouette and mischievous expression, this DIY project is a perfect way to add a playful touch to your home or gift giving. Whether you’re a seasoned Cricut enthusiast or a crafting novice, this guide will provide you with everything you need to know to create your own Grinch Cricut cut out.

Step-by-Step Instructions:
-
Materials You’ll Need:
- Christmas Grinch SVG Free Unleash The Grinch Within: Celebrate The Festive Season With Grinch SVG Free
- Feeling Extra Grinchy Today SVG Feeling Extra Grinchy Today SVG: Express Your Holiday Antics With Style
- Grinch Christmas Cricut Unleash Your Inner Grinch With Grinch Christmas Cricut Crafts
- Grinch Coffee SVG Unleash The Grinch Within: A Comprehensive Guide To Grinch Coffee SVG
- Free Grinch Silhouette SVG Conclusion: Unleash Your Grinch Spirit With Free Grinch Silhouette SVG
- Cricut machine
- Green cardstock or vinyl
- Black cardstock or vinyl
Design Your Grinch: Open your Cricut Design Space software and select the Grinch image. You can either use the pre-designed image provided by Cricut or upload your own.

-
Cut Out the Grinch: Place your green cardstock or vinyl on the Cricut cutting mat and load it into the machine. Select the appropriate material settings and cut out the Grinch shape.
Create the Eyes and Mouth: Cut out the black circles for the eyes and the black oval for the mouth. You can also use black vinyl for a more durable option.
-
Add the Hat: Cut out a red triangle for the hat and a white rectangle for the brim. Glue or adhere the brim to the bottom of the hat and attach the hat to the Grinch’s head.
-
Assemble the Grinch: Use transfer tape to apply the eyes, mouth, and hat to the Grinch shape.
Tips for Success:
- Use high-quality cardstock or vinyl for a professional-looking finish.
- Ensure that your cutting mat is clean and sticky to prevent the material from slipping during cutting.
- Apply transfer tape carefully to avoid any bubbles or wrinkles.
- Let the adhesive dry completely before handling the cut out.
FAQ:
Q: What size should I make my Grinch cut out?
A: The size is up to your preference. However, a 6-inch to 12-inch Grinch is a good starting point.
Q: Can I use different colors for the Grinch?
A: Yes, you can customize the colors to your liking. For example, you could use blue for the Grinch’s body and orange for his hat.
Q: How can I display my Grinch cut out?
A: You can attach it to a gift box, use it as a tree ornament, or display it on a shelf or mantle.
Conclusion:
Creating a Grinch Cricut cut out is a fun and festive way to celebrate the holiday season. Whether you’re using it as a decoration or a gift, this DIY project is sure to bring a smile to your face and those around you. So gather your materials, fire up your Cricut machine, and let the Grinch join in on the holiday cheer!


