


Creating custom keychains with a Cricut machine is a fun and easy way to add a personal touch to your belongings or make thoughtful gifts for friends and family. Whether you’re a beginner or an experienced crafter, this guide will provide you with step-by-step instructions on how to make keychains with your Cricut.
Introduction

Creating custom keychains with a Cricut machine is a fun and easy way to add a personal touch to your belongings or make thoughtful gifts for friends and family. Whether you’re a beginner or an experienced crafter, this guide will provide you with step-by-step instructions on how to make keychains with your Cricut.
Step-by-Step Instructions
1. Choose Your Design
Introduction
- Buy Disney Svg Files Unleash Your Creativity With Premium Disney SVG Files
- Keychain Vinyl Ideas Unleashing Creativity: A Comprehensive Guide To Keychain Vinyl Ideas
- Batman Logo SVG Free Unleash The Dark Knight’s Legacy: Batman Logo SVG Free
- Free Disney Svg Files For Scan N Cut Unleashing Creativity With Free Disney SVG Files For Scan N Cut
- Free Batman SVG For Cricut Dive Into The Dynamic World Of Free Batman SVGs For Cricut: Unleashing The Caped Crusader’s Legacy For Your DIY Creations
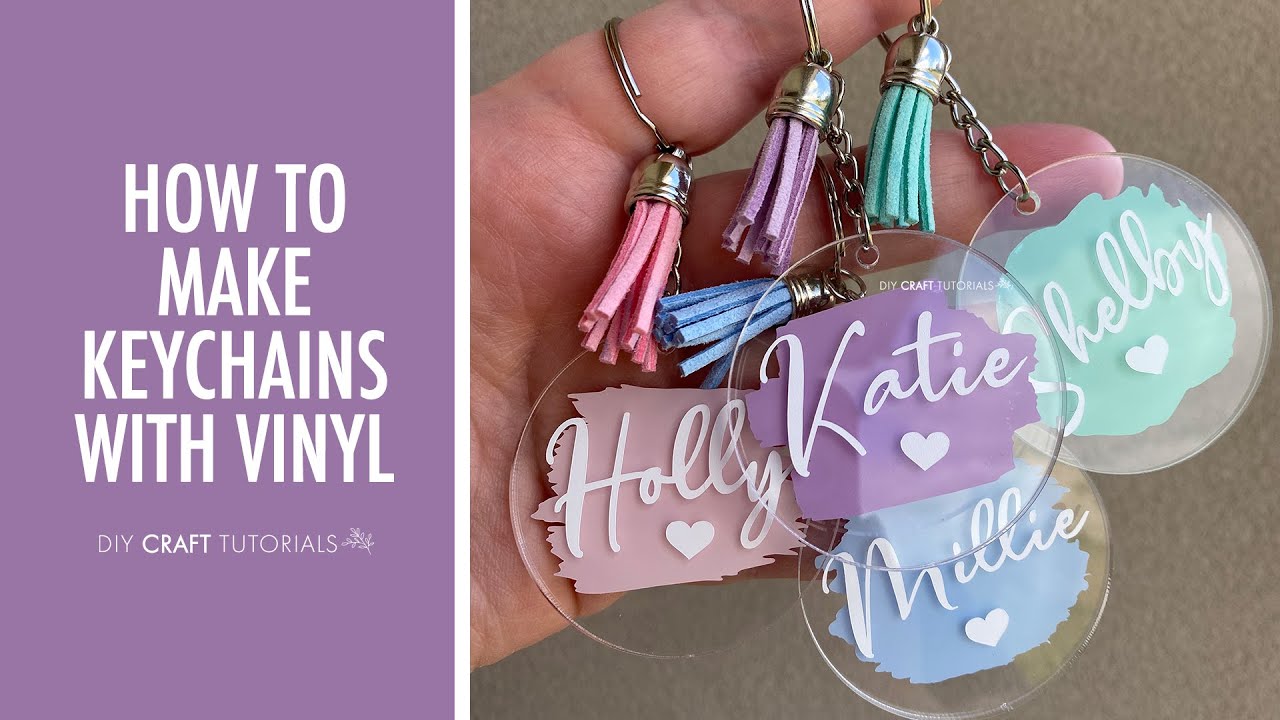
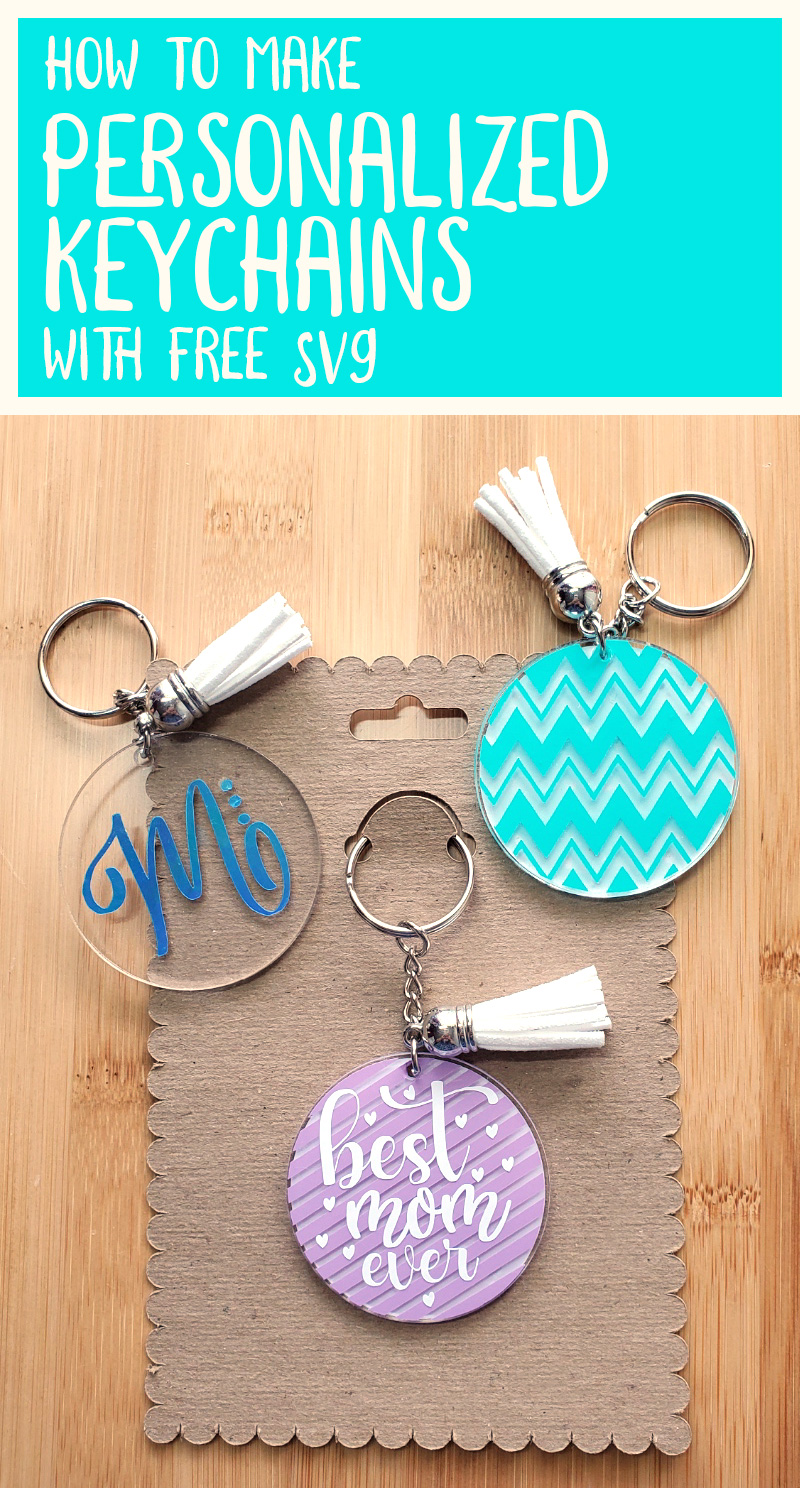
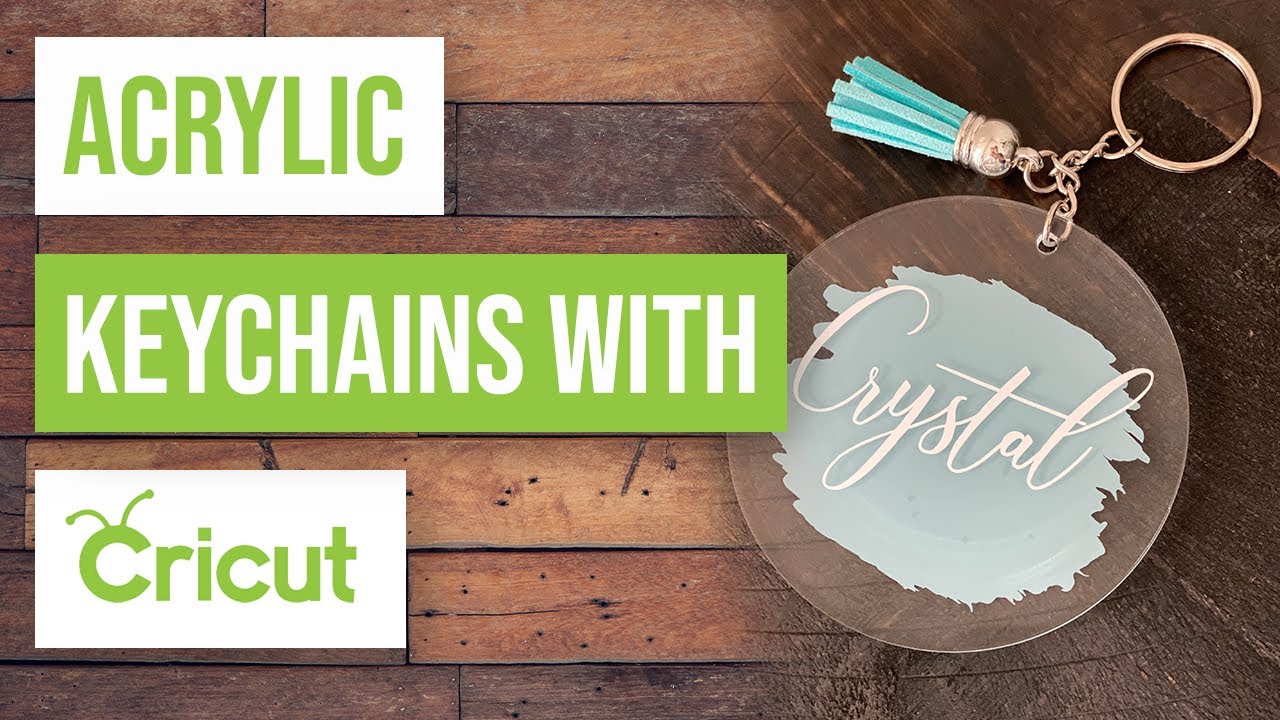
Keychains are versatile accessories that can be used to hold keys, decorate bags, or simply add a pop of color to your outfit. With a Cricut machine, you can create unique and personalized keychains using a variety of materials, including faux leather, acrylic, and wood.
Materials You’ll Need
- Cricut machine
- Open Cricut Design Space and select a design or create your own.
- Adjust the size and shape of the design to fit your desired keychain size.
- Place your chosen material on the cutting mat and secure it with masking tape.
- Adjust the cutting settings in Cricut Design Space based on the material you’re using.
- Load the cutting mat into the Cricut machine and select the "Go" button.
- The machine will cut the design into the material.
- Once the cutting is complete, remove the excess material from the cutting mat.
- Use a weeding tool to remove any small pieces of material that may be stuck to the design.
- Insert a jump ring into the hole in the keychain design.
- Attach a split ring to the jump ring.
- Connect the keychain to the desired key or other accessory.
- Use a sharp cutting tool to ensure clean cuts.
- Adjust the cutting settings based on the thickness of the material you’re using.
- Secure the material firmly to the cutting mat to prevent it from shifting during cutting.
- Use a variety of materials and designs to create unique and personalized keychains.
2. Prepare Your Material

3. Cut the Design
4. Remove the Excess Material
5. Attach the Keychain Hardware
Tips for Success
FAQs
Q: What materials can I use to make keychains with a Cricut machine?
A: You can use a variety of materials, including faux leather, acrylic, wood, cork, and even fabric.
Q: What is the best cutting tool for keychains?
A: A sharp cutting tool, such as the Cricut Fine-Point Blade, will provide the best results.
Q: How do I attach the keychain hardware?
A: Use jump rings and split rings to connect the keychain design to the desired key or accessory.
Q: Can I use my own designs to make keychains?
A: Yes, you can upload your own designs or create new designs in Cricut Design Space.
Q: How do I clean and care for my Cricut keychain?
A: Wipe the keychain with a soft cloth to remove any dirt or debris. Avoid using harsh chemicals or cleaners.
Conclusion
Creating keychains with a Cricut machine is a fun and rewarding experience. By following the steps outlined in this guide, you can create personalized keychains that reflect your style and add a touch of creativity to your everyday life. Whether you’re making keychains for yourself, friends, or family, the possibilities are endless. So grab your Cricut machine and start creating!


